VMware Cloud Foundry for Eclipse and STS
For those developing in Java, Cloud Foundry provides a plug-in that works with the Eclipse IDE (Integrated Development Environment) and SpringSource Tool Suite (STS). This describes how to install the plug-in and how to deploy an application using Eclipse or STS.
Prerequisites
If you don’t already have STS or Eclipse installed, do so now:
-
Confirm that you have Eclipse IDE for JEE Developers so that all known dependencies are satisfied.
SpringSource Tool suite download
For STS you will want to have an install version of 2.6.1 or higher.
Installation
STS Extension Install
After you confirm the installed STS, open the tool and follow these steps:
Select Help > Dashboard.
The Dashboard will open.
Click on the Extensions Tab.
A list of extensions will load and display.
Select Cloud Foundry Integration under the Server and Clouds category.
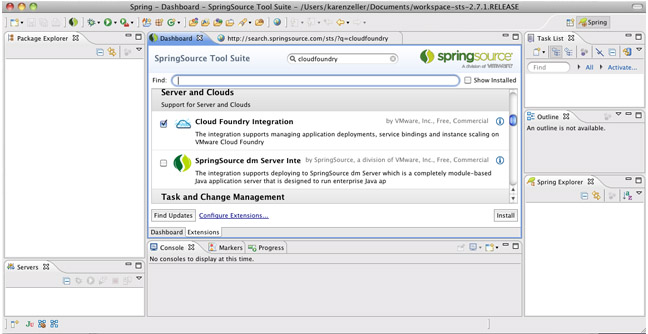
Click Install
An install wizard appears where you follow the steps provided.
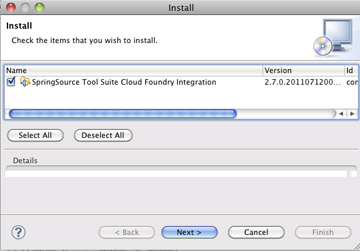
Restart STS
You are ready to connect to Cloud Foundry’s cloud.
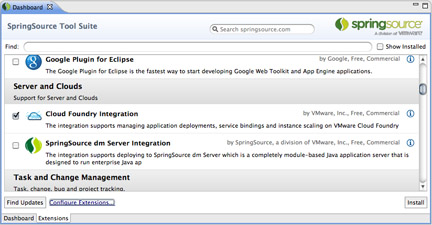
Eclipse Marketplace Install
In Eclipse, do the following:
Select Help > Eclipse Marketplace.
A panel opens showing different plug-ins and add-ons.
Enter ‘cloud foundry’ under Find.
In the search results select Cloud Foundry Integration.
Click Install
An install wizard appears where you follow the steps provided.
After the finish installing, restart Eclipse.
You are ready to connect to Cloud Foundry’s cloud.
Deploying Applications
The plug-in integrates STS and Eclipse via Web Tools Project (WTP) Server infrastructure, which is commonly used to deploy Java web applications to remote servers.
Connecting to Cloud Foundry
In Eclipse or STS you start by creating a new server. This server represents your Cloud Foundry account and you can connect to Cloud Foundry with it:
Select Window > Show view… > Other… > Servers.
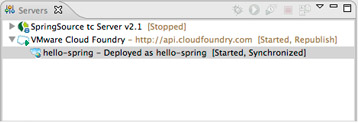
Right click in the Servers view and select New > Server.
A wizard will open where you set up the server.
Under the VMware category, select Cloud Foundry.

Click Next
Enter your username/email and password you received from Cloud Foundry:
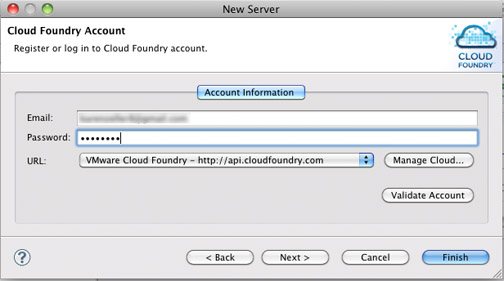
Select the cloud you want to connect to.
If you want to connect to your Cloud Foundry cloud, under URL choose VMware Cloud Foundry – http://api.cloudfoundry.com Note you could also choose a local installation of Cloud Foundry at this point.
Click Validate Account to test the connection.
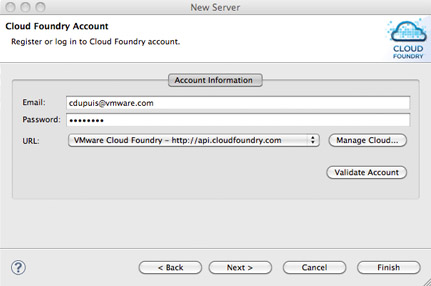
Click Finish.
The plug-in establishes the connection to Cloud Foundry. You can see your deployed applications under Cloud Foundry server node in the Servers view.
Adding and Starting Applications
Add the Application. To add it to your cloud you can either:
- Drag and drop the application’s listing in your IDE onto the Cloud Foundry server in the Servers panel, or
- In the Servers panel, open that servers context menu by right-clicking and select Add and Remove…
Start the Application. Right click the application in the Servers panel and select Start.
A wizard appears where you can provide the application name, select a URL and allocate memory to the application.
Click Finish. The plug-in uploads and starts your application on the cloud.
Checking Status. Double-click the application in the Servers panel.
The Server Editor appears and displays information specific to your application on the cloud.
Provisioning Services
To provision services which will in turn be available to your application:
In the Servers panel, double click on any application name.
STS activates the Package Explorer tab as navigation and then the Applications tab in the workspace.
The Applications tab lists all the applications plus details about the selected application.
In the Services Section, click Add service.

Provide a name for the new service.
Select the service type (MySQL, Redis, MongoDB, RabbitMQ)

The plug-in request the service from Cloud Foundry and it appears in the Services section under the Applications tab.
Binding Services to Your App
To provision and bind services to your application:
Stop your application:
In the Server panel, right-click on the application name then select Stop, or
In the Applications panel, select the application and click Stop
In the Applications panel, select the application you want to add a service to.
Drag and drop a listed service to the Application Services table

Click Restart.
Remote File Access
To access files from your application that are remote:
Open Server Editor.
Under the Application Details pane, click Remote Systems View.
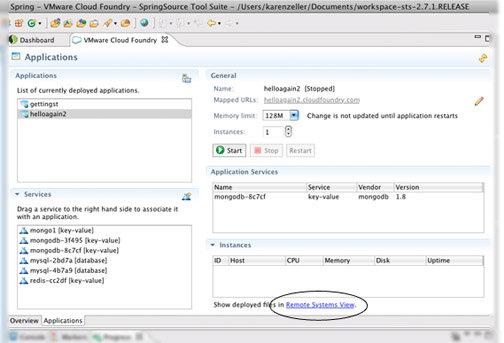
The Remote Systems tab appears below the workspace displaying remote resources.
Browse the file tree and open files.

Where to Go Next
You’re ready to move on and learn more about the brave new world of Cloud Foundry. Here are other documents that will help you get up to speed:
Cloud Foundry Services Guide
Micro Cloud Foundry Getting Started